Drywall in Saskatoon: Install, Taping, and Repairs (Simple Homeowner Guide)
If you’re finishing a basement, opening up a wall, or fixing old damage, the drywall stage is where your project finally starts to look like a real room. It’s also the stage that can easily slow everything down if planning or prep is rushed.
This guide is written for homeowners in Saskatoon, Martensville, Warman, and nearby areas who want clear answers to questions like:
- What actually happens during drywall installation and taping?
- How many days should I plan for?
- What affects the price of drywall work?
- When is it better to repair vs replace drywall?
- How can I get the room ready so the crew can work faster and cleaner?
1) Drywall process in Saskatoon (step-by-step)
Every house is a bit different, but most drywall projects follow the same basic steps. Here’s how a typical job with The Canadian Yard usually runs.
Step 1 – Walk-through and plan
We start with a quick walk-through to confirm layout, ceiling height, framing, insulation, and any problem areas. This is where we decide:
- Which walls and ceilings are being done
- Where access might be tight (stairwells, bulkheads, mechanical rooms)
- What level of finish you need (paint-ready vs basic utility finish)
Step 2 – Material delivery
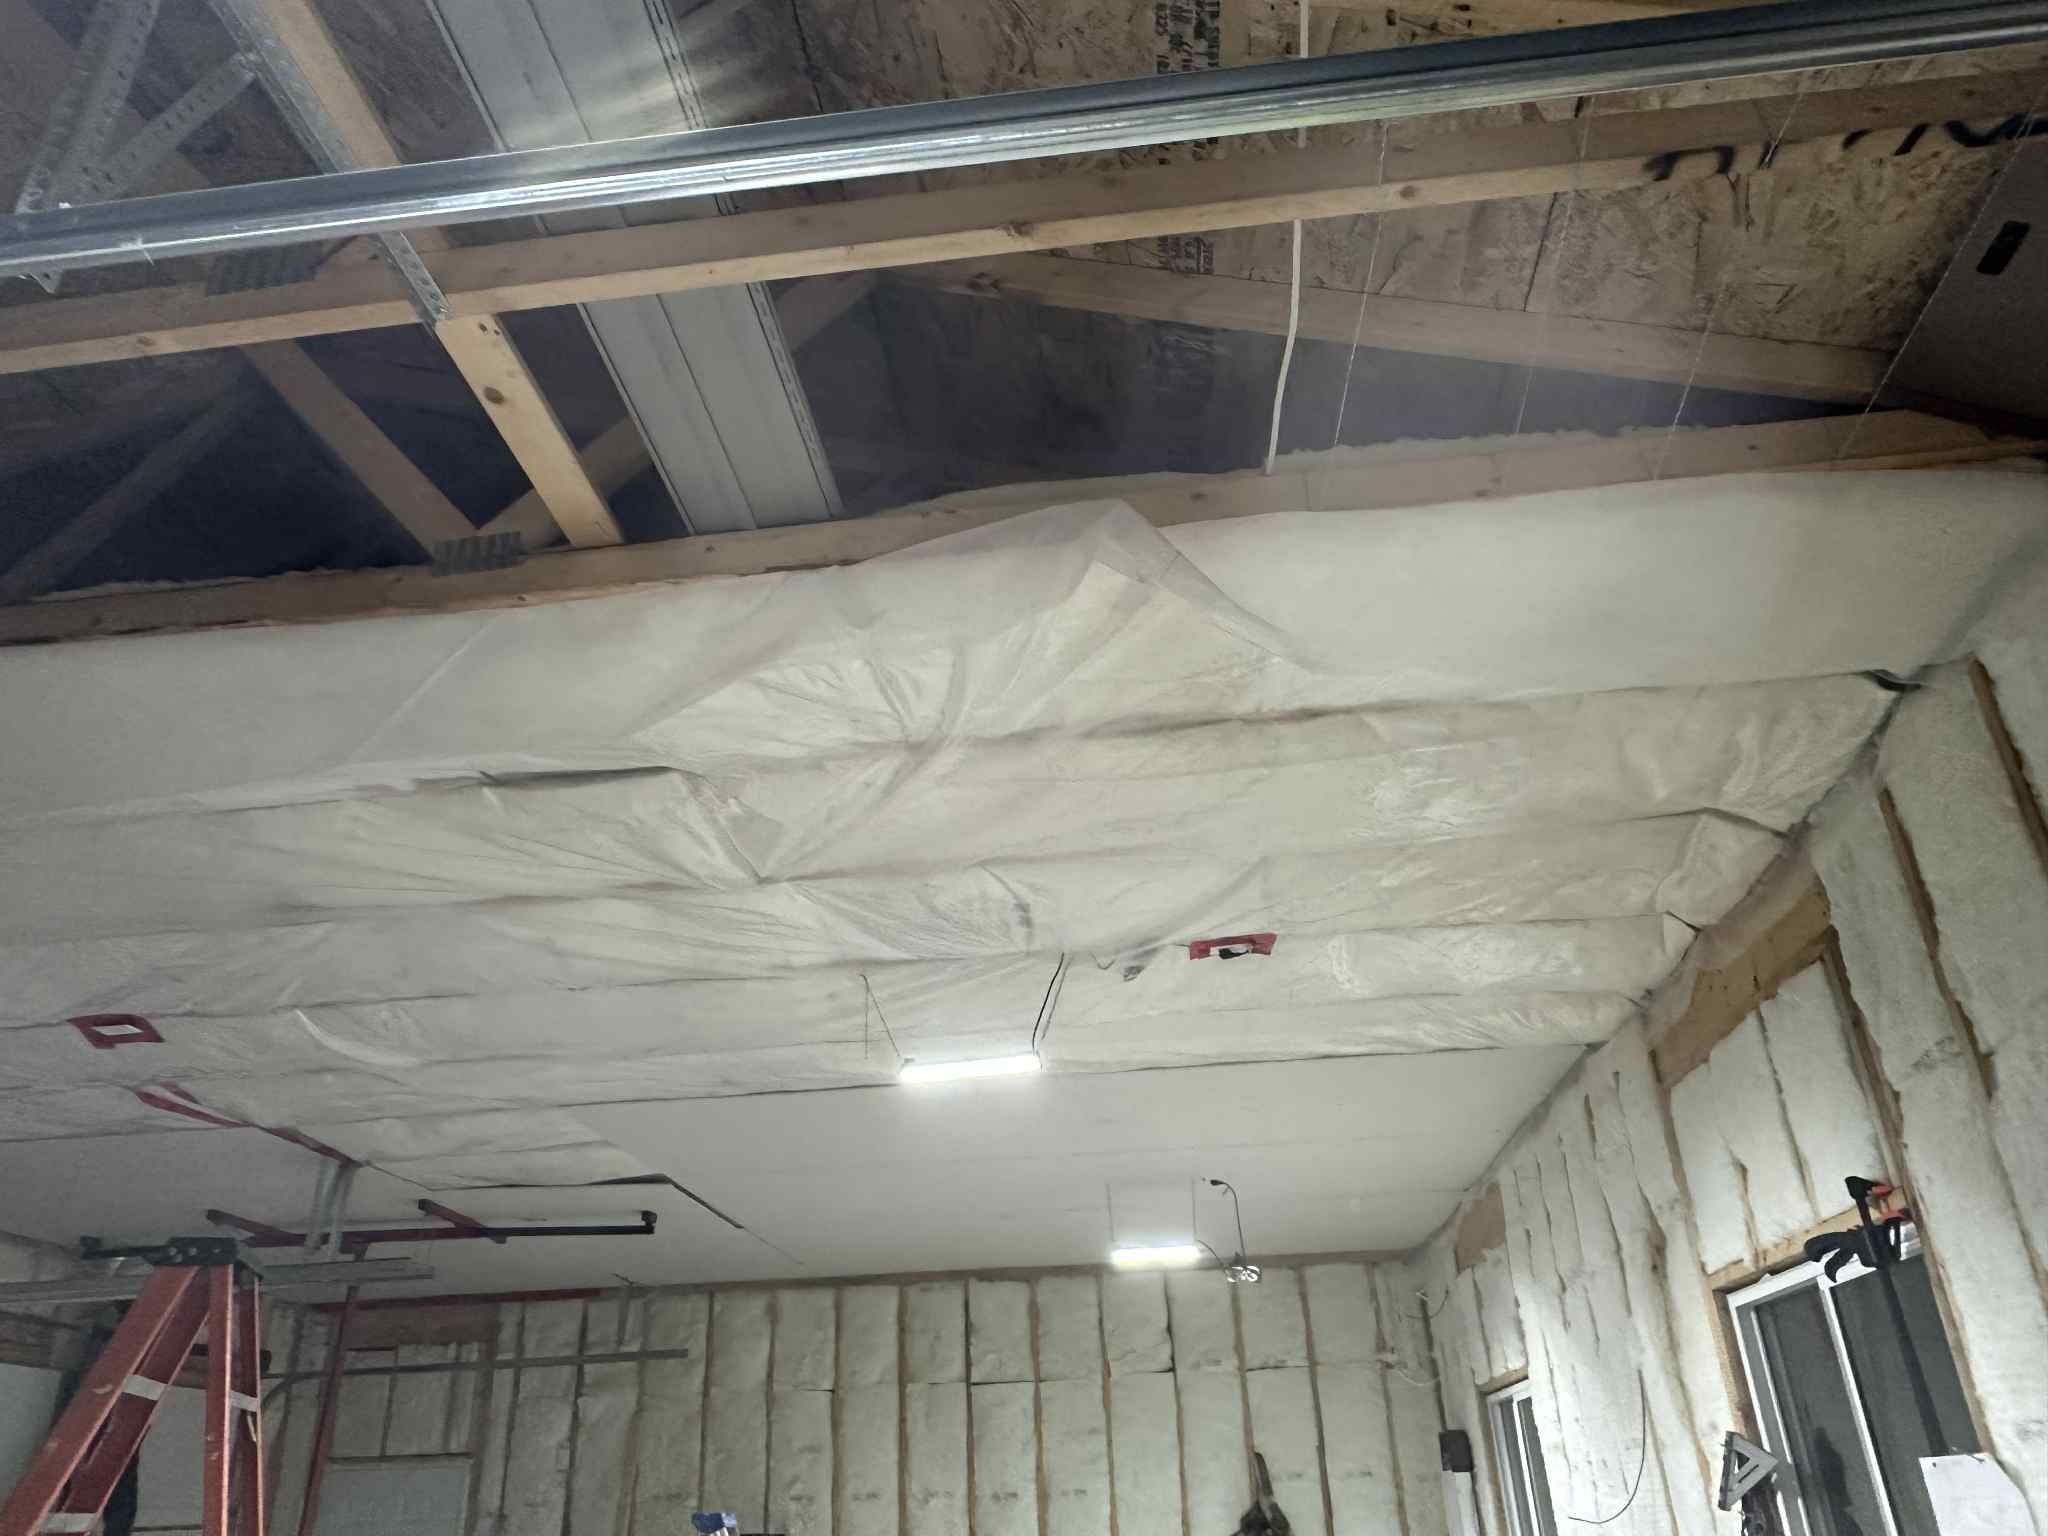
Sheets are brought in and staged where they’re needed. On basements in Saskatoon we often use 1/2" or 5/8" drywall depending on code and sound requirements. Good staging means less carrying during the job and fewer dings in your walls.
Step 3 – Hanging (installing the sheets)
This is the fast, noisy part. We:
- Cut sheets to size and fasten them with screws in a clean pattern
- Keep seams tight and avoid unnecessary joints
- Frame around windows, doors, tubs, and utilities
A careful hanging job saves time later because seams sit flat and don’t need extra mud to hide mistakes.
Step 4 – Taping and first coat
Joints, corners, and screw holes are filled with mud (compound). We embed tape into seams and corners, then smooth everything out. This first coat is where most of the structural strength comes from.
Step 5 – Second and third coats
After the first coat dries, we add more coats that are wider and thinner. These feather the joint so it disappears once painted. Between coats, we lightly sand or scrape high spots.
On a typical Saskatoon basement, you’re usually looking at 2–4 visits over several days because mud needs proper dry time, especially in cooler or more humid seasons.
Step 6 – Sanding and final touch-ups
This is where the smooth finish happens. We use proper lighting to find ridges, dips, and tape lines, then sand and touch up until the surface is paint-ready. This step creates dust, so we protect floors and nearby areas and clean up at the end.
Step 7 – Primer and paint
Once drywall is finished, you’re ready for primer and paint. Many clients ask us to handle painting in Saskatoon as well so they keep one crew from framing to final coat.
2) Common drywall projects we do in Saskatoon
- Basement development and suites
- Wall changes during renovations (opening up a kitchen, moving a doorway, closing in a room)
- Garage and mudroom drywall for a cleaner look
- Ceiling repairs or full ceiling re-drywall after leaks
- Finishing new framing around fireplaces, feature walls, or bulkheads
If you’re not sure whether your job is “big enough,” you can still send photos. We regularly help with small repair-heavy projects as well as full new spaces.
3) Drywall repairs: patch or replace?
Not every drywall job needs new sheets. A lot of Saskatoon work is targeted repairs:
- Holes from doors, furniture, or kids playing
- Cracks along corners or ceiling joints
- Old screw pops or seams that are showing through paint
- Water damage after a roof, plumbing, or tub leak (once the source is fixed)
As a general rule:
- Small damage (up to a few inches) – usually patched, feathered out, and blended.
- Larger sections – often cut back to clean framing so a new piece can be installed.
- Water-damaged drywall – should be removed where it’s soft, moldy, or stained through.
When we visit, we’ll tell you honestly whether it’s cheaper and cleaner to patch or to replace a section.
4) What affects the cost of drywall work?
We price drywall projects individually instead of giving one flat number, because a few key details change the time and materials a lot:
- Size of the job – full basements and garages are more efficient than small, scattered repairs.
- Ceiling height – tall or vaulted ceilings take more time and require more safety setup.
- Number of corners and details – bulkheads, niches, beams, and lots of inside/outside corners add taping time.
- Access – tight stairwells, limited parking, or finished spaces that need extra protection.
- Level of finish – utility rooms vs. living rooms and feature walls.
For very small repairs, most contractors have a minimum charge to cover travel and setup. For larger projects, pricing is typically based on wall/ceiling area and complexity. The simplest way to get a realistic number is to send a few photos and a rough sketch, and we’ll respond with a clear estimate.
5) How to prepare your home for drywall work
A little prep before we arrive keeps the job cleaner and often cheaper. Here’s what we recommend:
- Clear the area – move furniture, storage tubs, and personal items away from the work zone.
- Cover anything that must stay – we also bring plastic, but pre-covering shelves or electronics helps.
- Plan for dust – sanding creates fine dust. We close doors where possible and protect floors, but planning ahead keeps stress low.
- Talk about pets and kids – we want everyone safe around tools, cords, and ladders.
- Confirm parking & access – having a spot nearby for loading materials saves time.
6) Saskatoon climate tips: cracks, movement, and paint
Our climate swings from cold, dry winters to warm summers. That movement can show up in your drywall. A few quick tips:
- Seasonal hairline cracks near corners or along long seams are common. Many can be repaired once the house settles.
- Humidity control helps. Running a dehumidifier in basements or using bathroom fans reduces future cracking and tape issues.
- Good primer and quality paint over a properly finished surface protects joints and makes future touch-ups easier.
Need drywall install or repairs in Saskatoon?
If you’re in Saskatoon, Warman, Martensville, or nearby areas, you can send photos and a short description of your project. We’ll let you know what’s involved (install, taping, patching, or full finishing) and give you a clear next step.
Request Free Estimate Drywall ServiceDrywall FAQ for Saskatoon homeowners
How long does drywall taping usually take?
For a typical basement or main-floor project, expect 2–4 visits over several days. The work time each day is often short, but mud needs proper drying time between coats, especially in cooler or more humid weather.
Can I live in the house while drywall work is happening?
Yes. Most clients stay home during drywall work. We do our best to contain dust, but you should expect some noise and traffic in and out. If sanding is happening near bedrooms or a main living space, we can plan the schedule around your family’s routine.
Do you supply materials, or should I buy my own drywall?
We usually supply the drywall, tape, mud, screws, and corner beads. That way we can control the quality and make sure the right products are used for your space. If you already purchased materials, we can look at them during the estimate and let you know what still might be needed.
Can you patch a small hole and make it look invisible?
Small repairs can blend in very well when they’re patched, feathered out, sanded, and primed properly. Matching older textures or heavy paint can take a bit more time, but our goal is always a clean, tidy repair rather than a quick smear of mud.
Do you do drywall and painting together?
Yes. Many clients bundle drywall finishing with interior painting so they don’t have to coordinate multiple trades. We can quote your drywall and paint together and plan the schedule from first sheet to final coat.